Packaging design has always been a treat to do. I’ve been hired to do some work for a nutrition supplement targeting jet lag, so the branding has an airy, gradient feel to it but I struggle to get sign-off on my ideas because I can’t conceptualize effectively, I think.
I’m looking into using Blender for packaging design, so I’ll be following this tutorial on modeling a medicine jar.
For every time I get into Blender, I’m surprised at how easy some things are made by way of a simple shape.
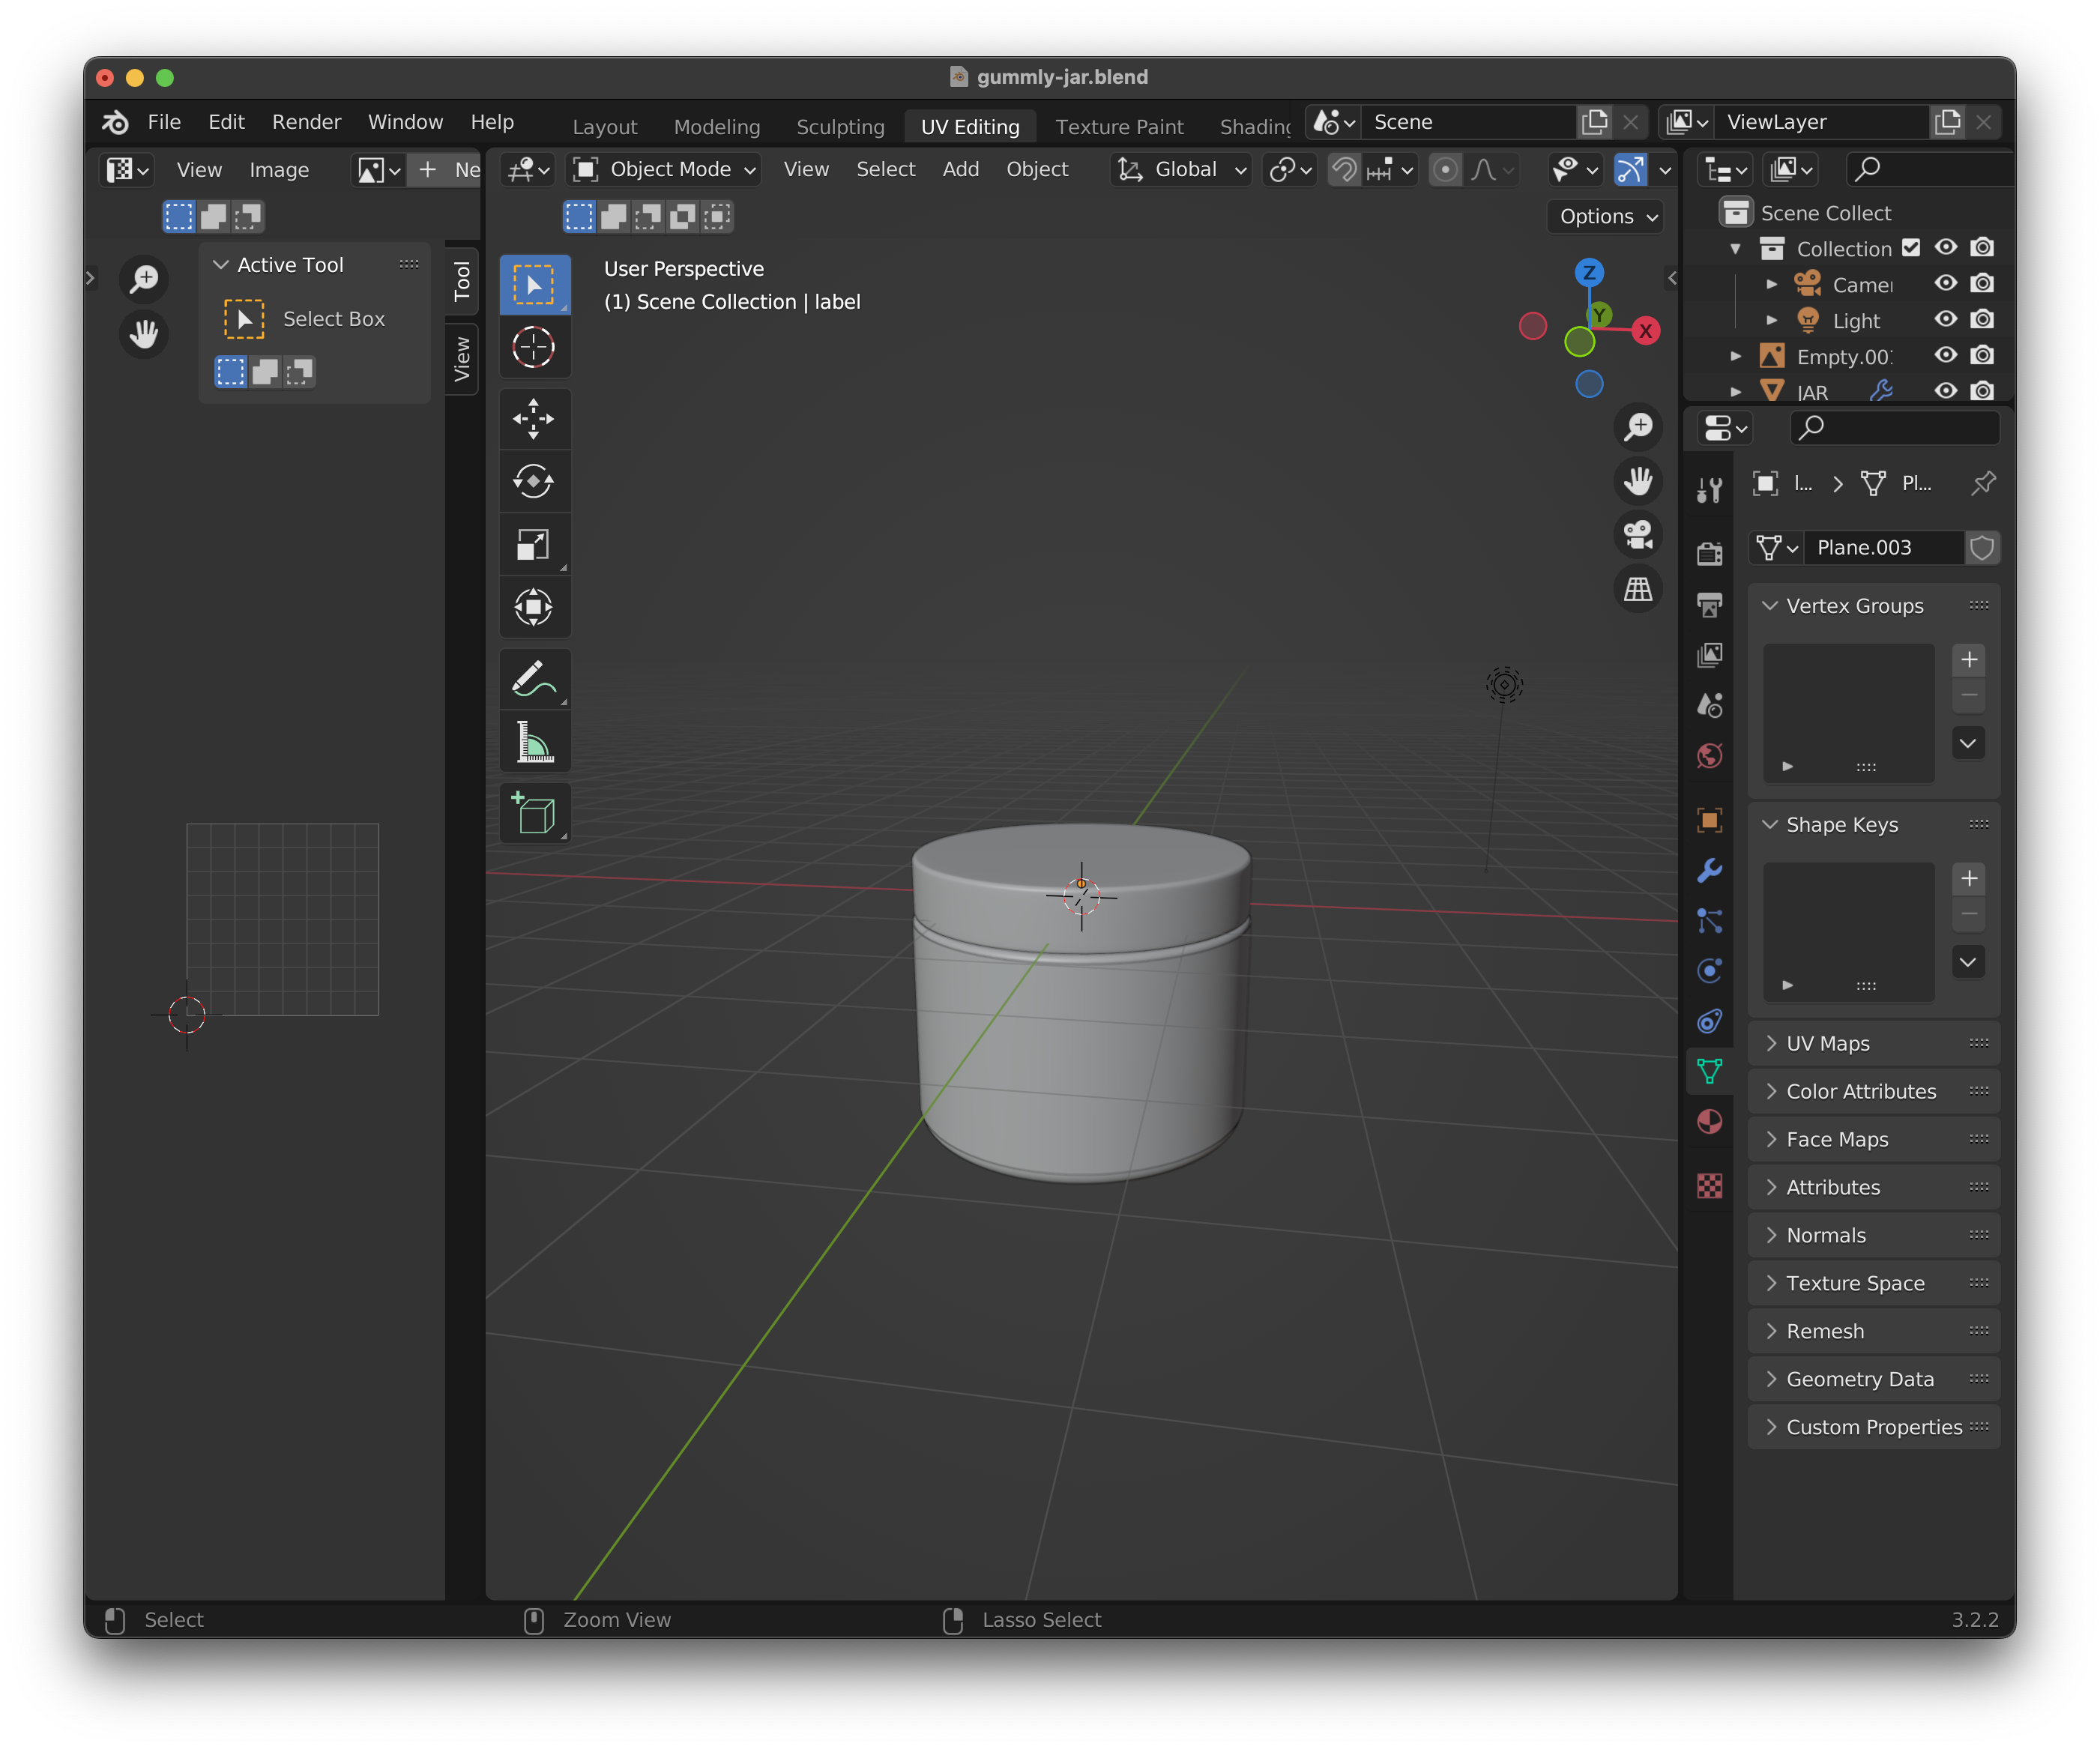
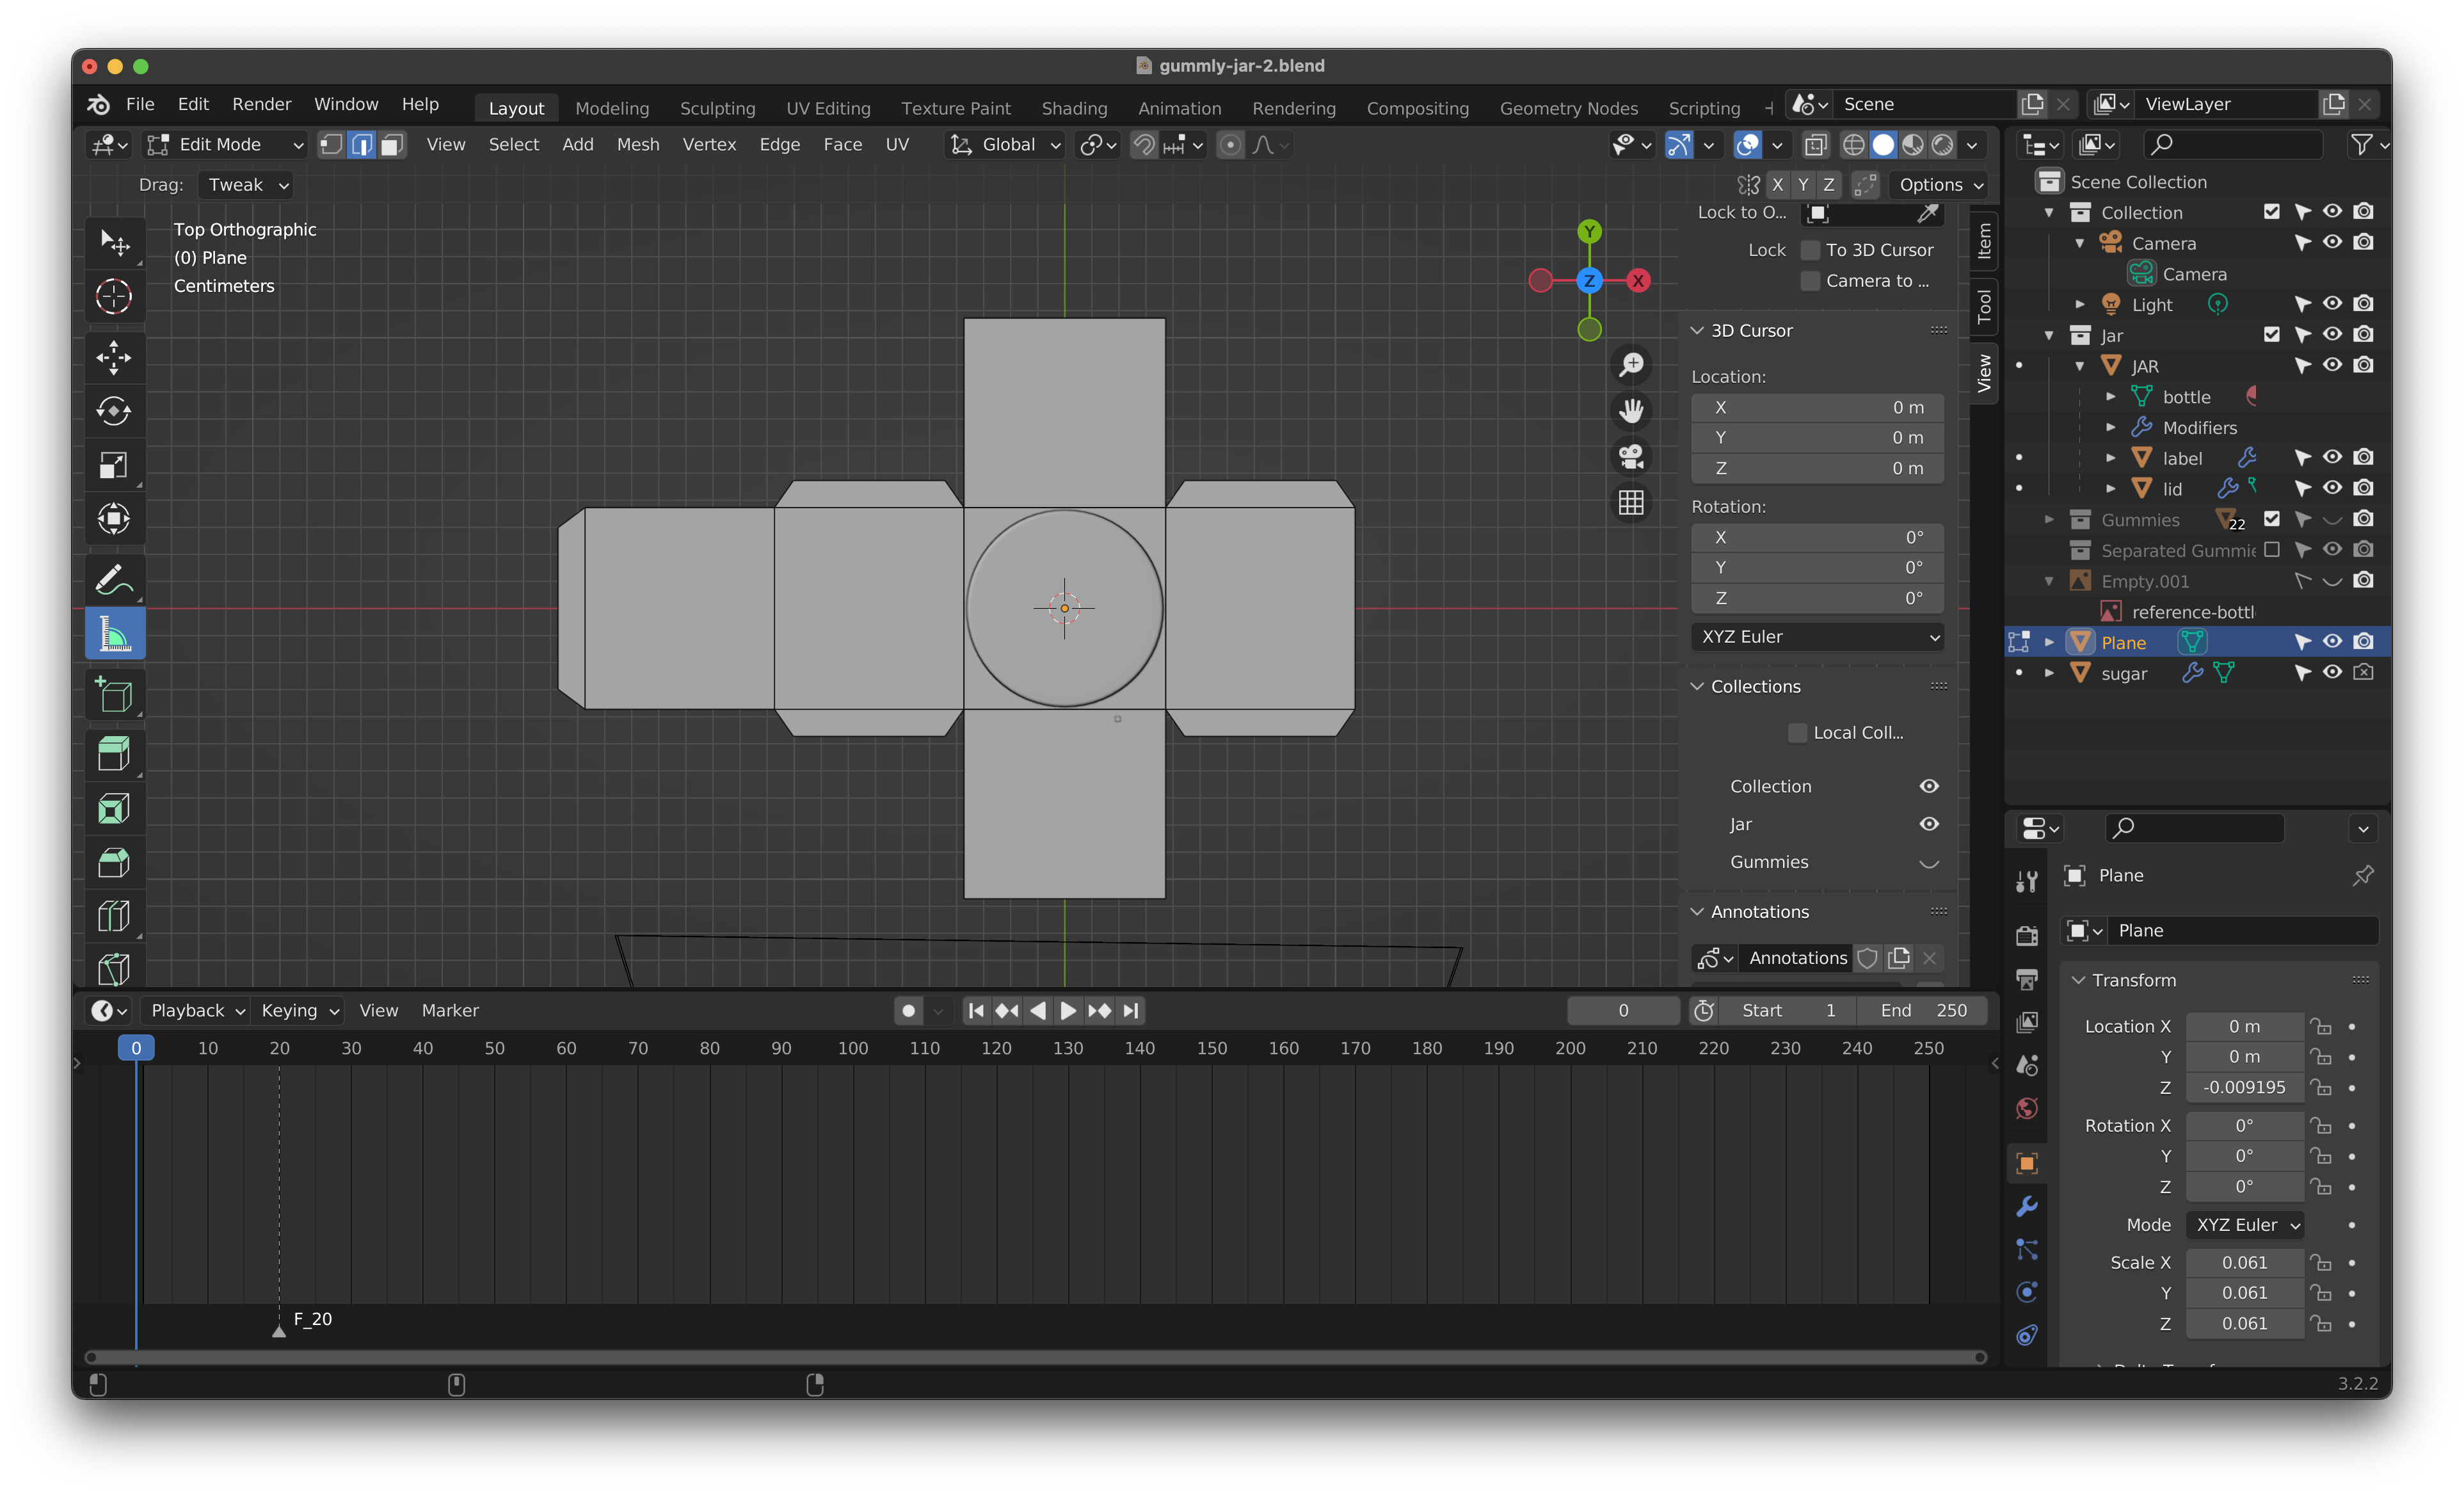
I was able to create a simple jar starting with a plane and a screw modifier:
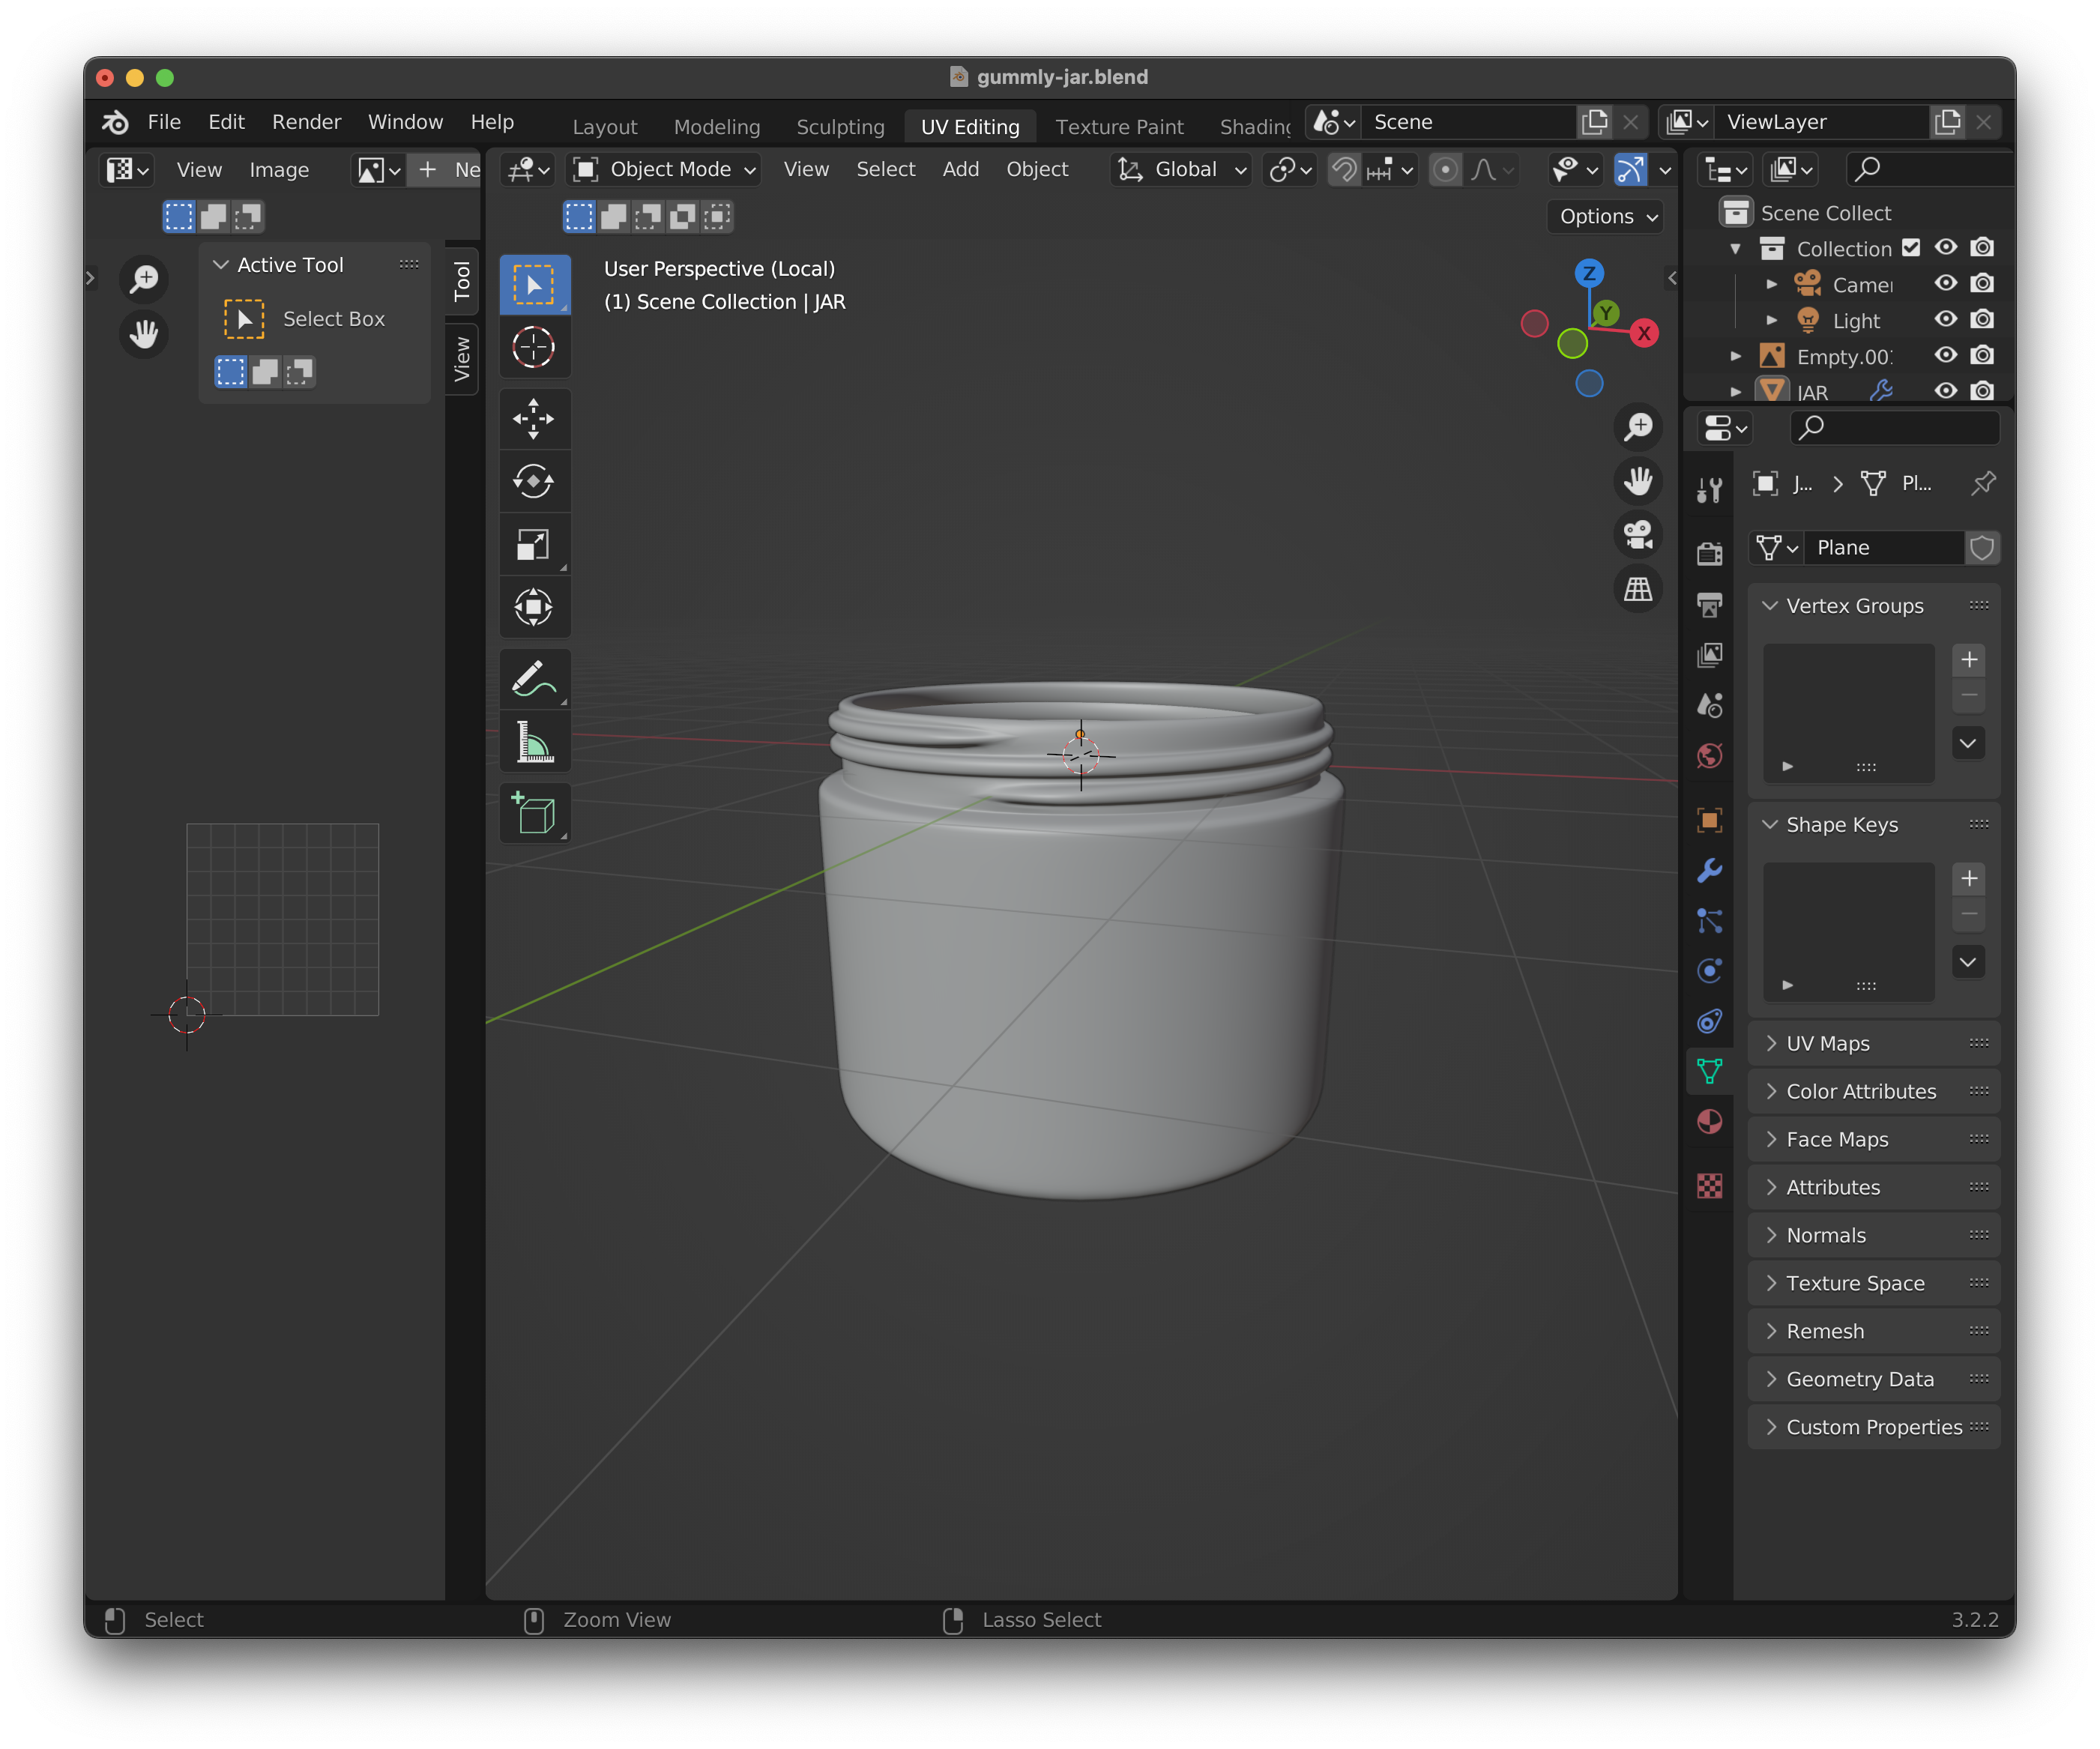
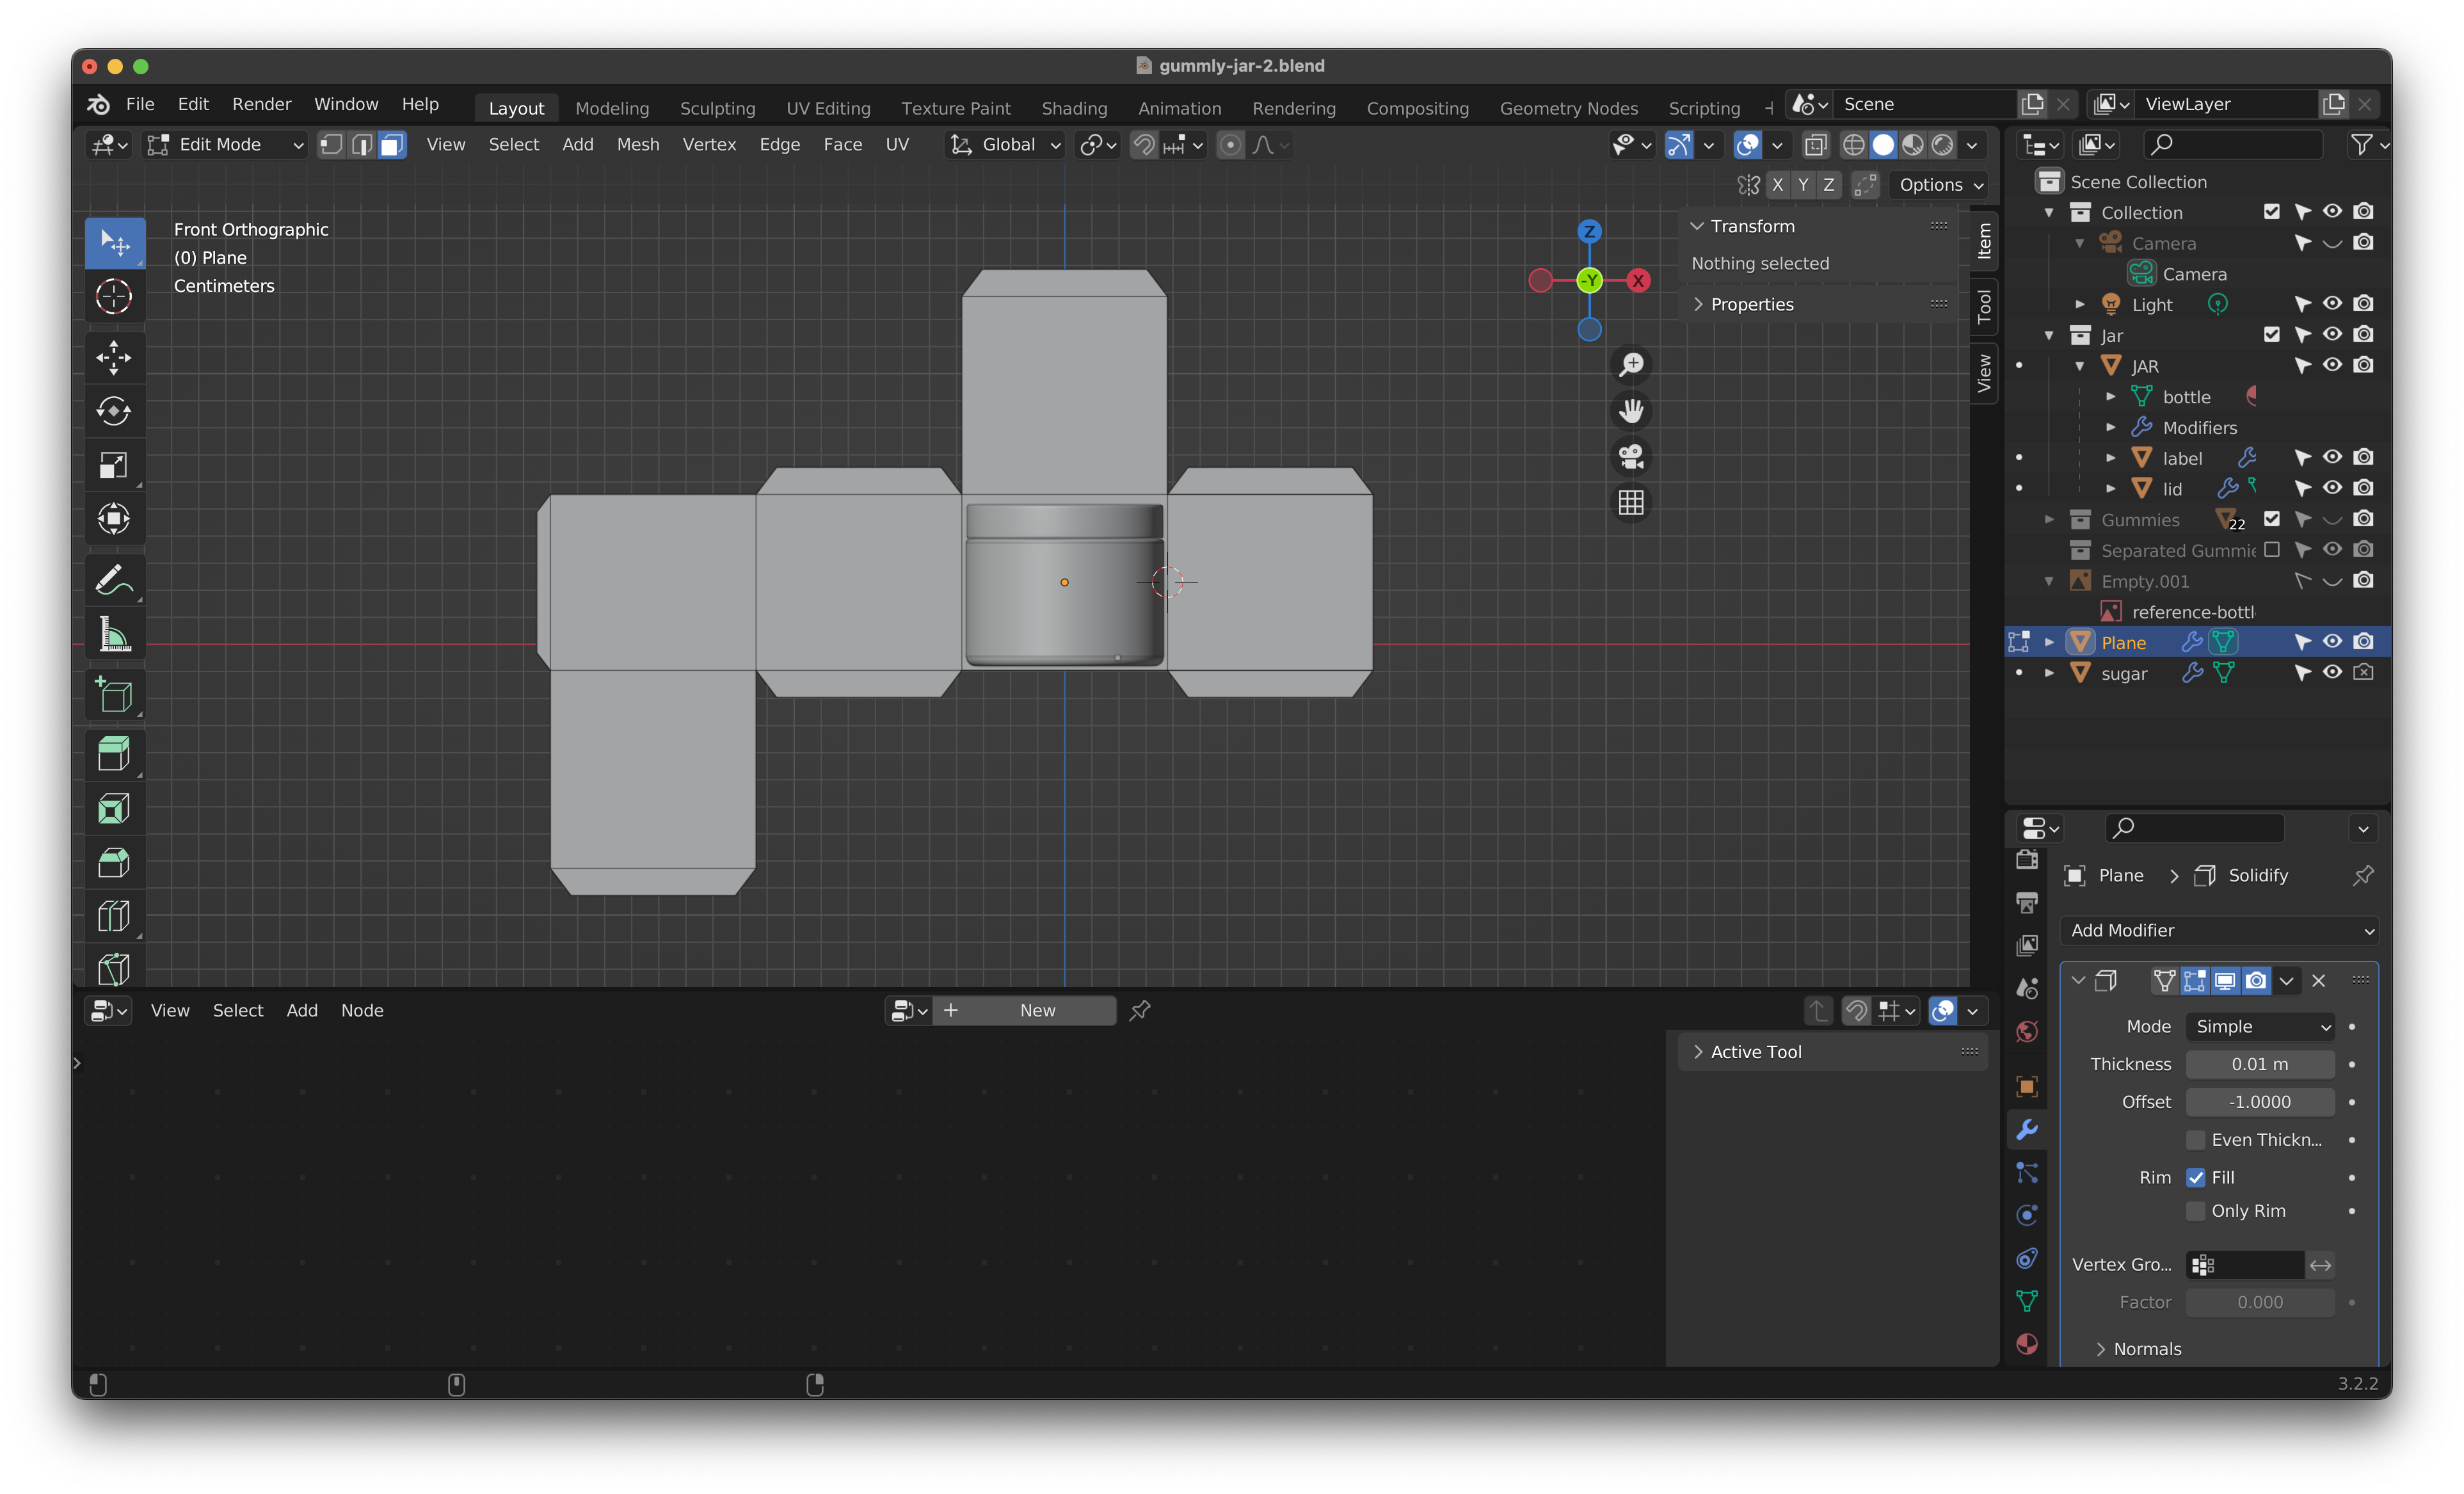
To make the cap, I duplicated (shift + D) a ring around the bottle and split the selection (P), extruded (E), and filled the face. Option + E gives me options to extrude from normals, which added some depth to the cap.
 Trying to remember shortcuts is the only thing slowing me down, but I know that with practice I’ll get there. I just never want to, lol.
Quick note on Normals
Checking normals in Blender affect modifiers, modelling, and shading; if they’re facing away (red), it may mess up the way you intend on modelling your object. More here
You can adjust this by selecting the object in edit mode, then shift + N . You can double check normals (blue vs red) in this dropdown: 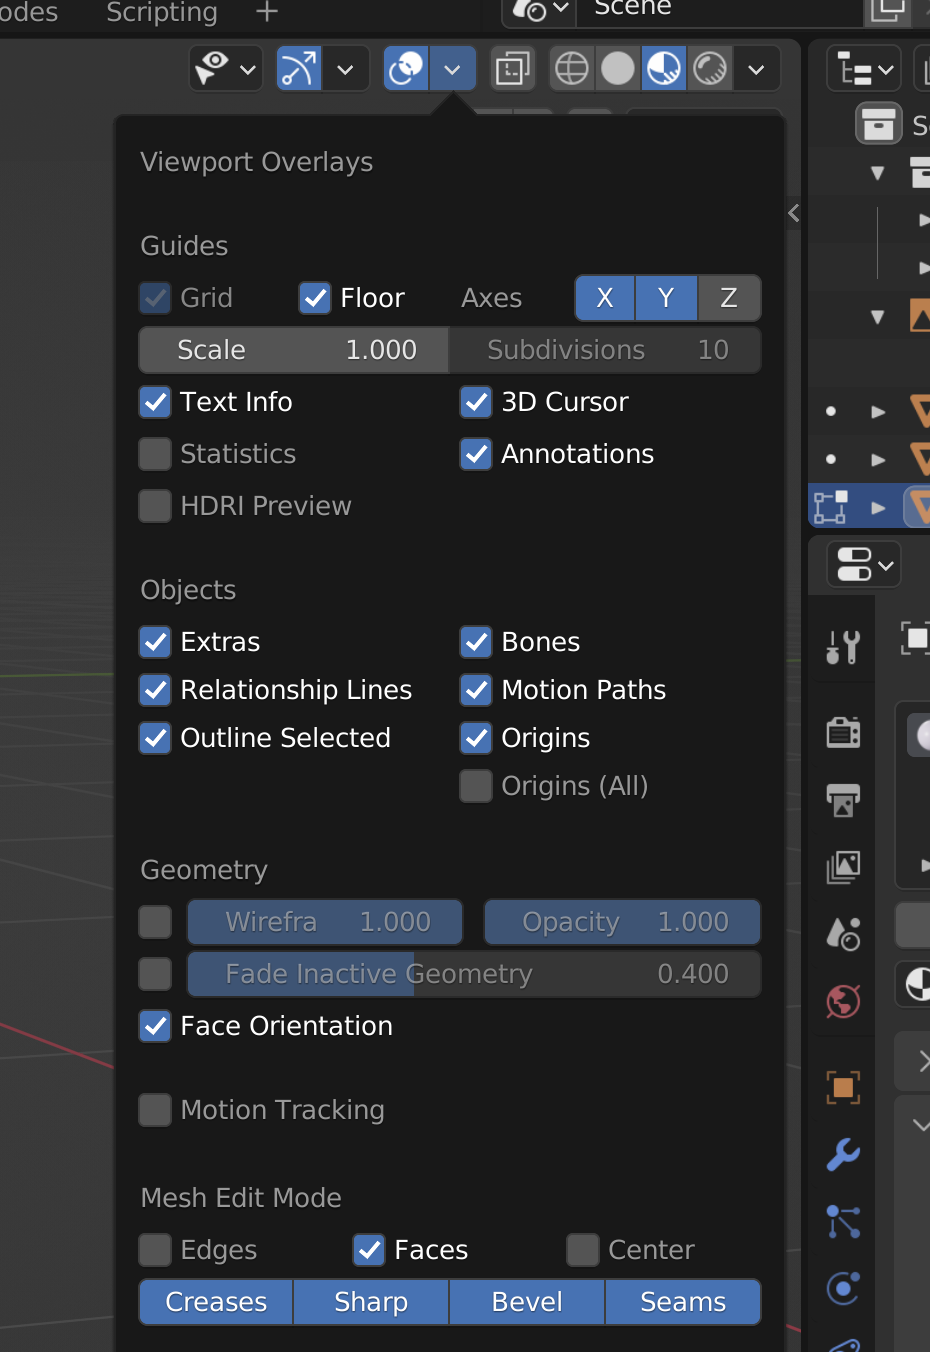
Since I’m technically doing this for a client on my own time, but not considering this billed time, I didn’t do any label design and just using placeholder stuff. Since the client is looking for branding for their gummy nutrition supplement, I followed the OG Blender Guru’s tutorial on geometry nodes to make jujubes instead of the pills that were used in the medicine jar:
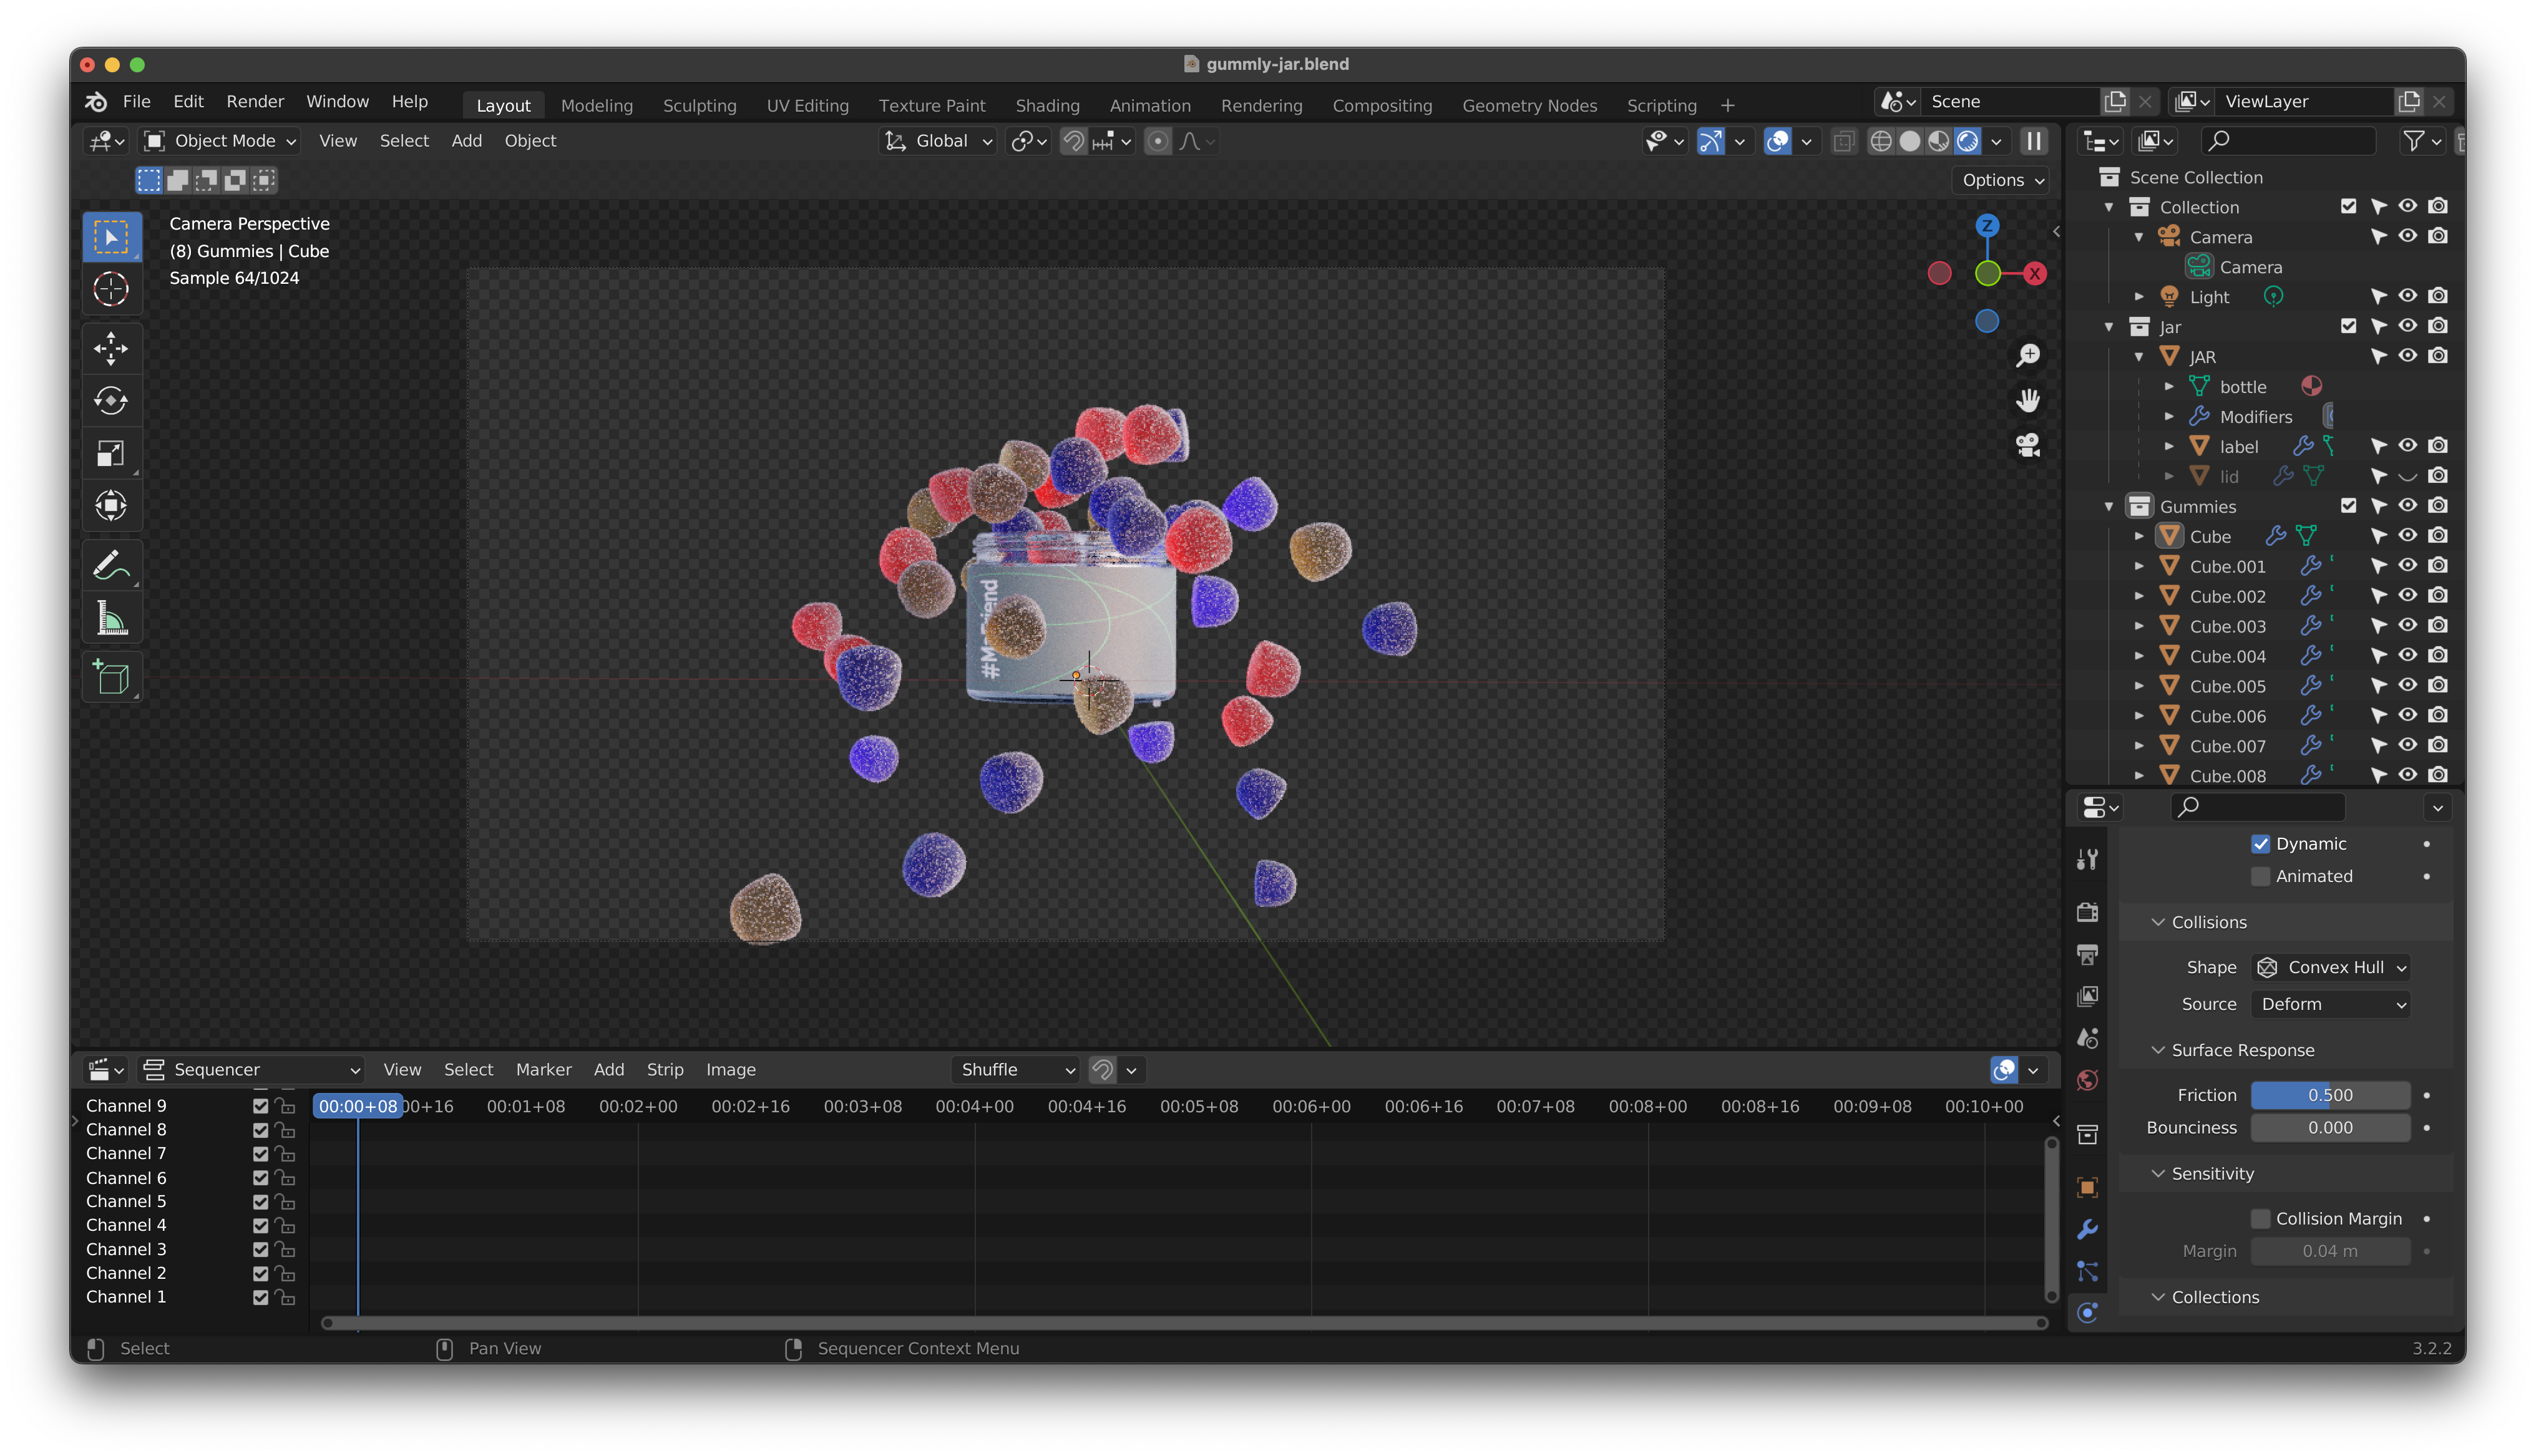 Colours are off and that’s not the final label, but it’s so crazy to me how realistic Blender can make things.
My next bit is trying to make the box packaging, which I vaguely did by memory after watching a tutorial on making a box in Blender, but as I stare at an empty cannoli box next to me, I realize I mapped this wrong:
better, probably.
It wasn’t better. Seems like the rule of thumb in Blender is: have a reference. So I added in a template for reference for a better box that I found and started following this AI-voiced youtube tutorial on making a box using armatures:
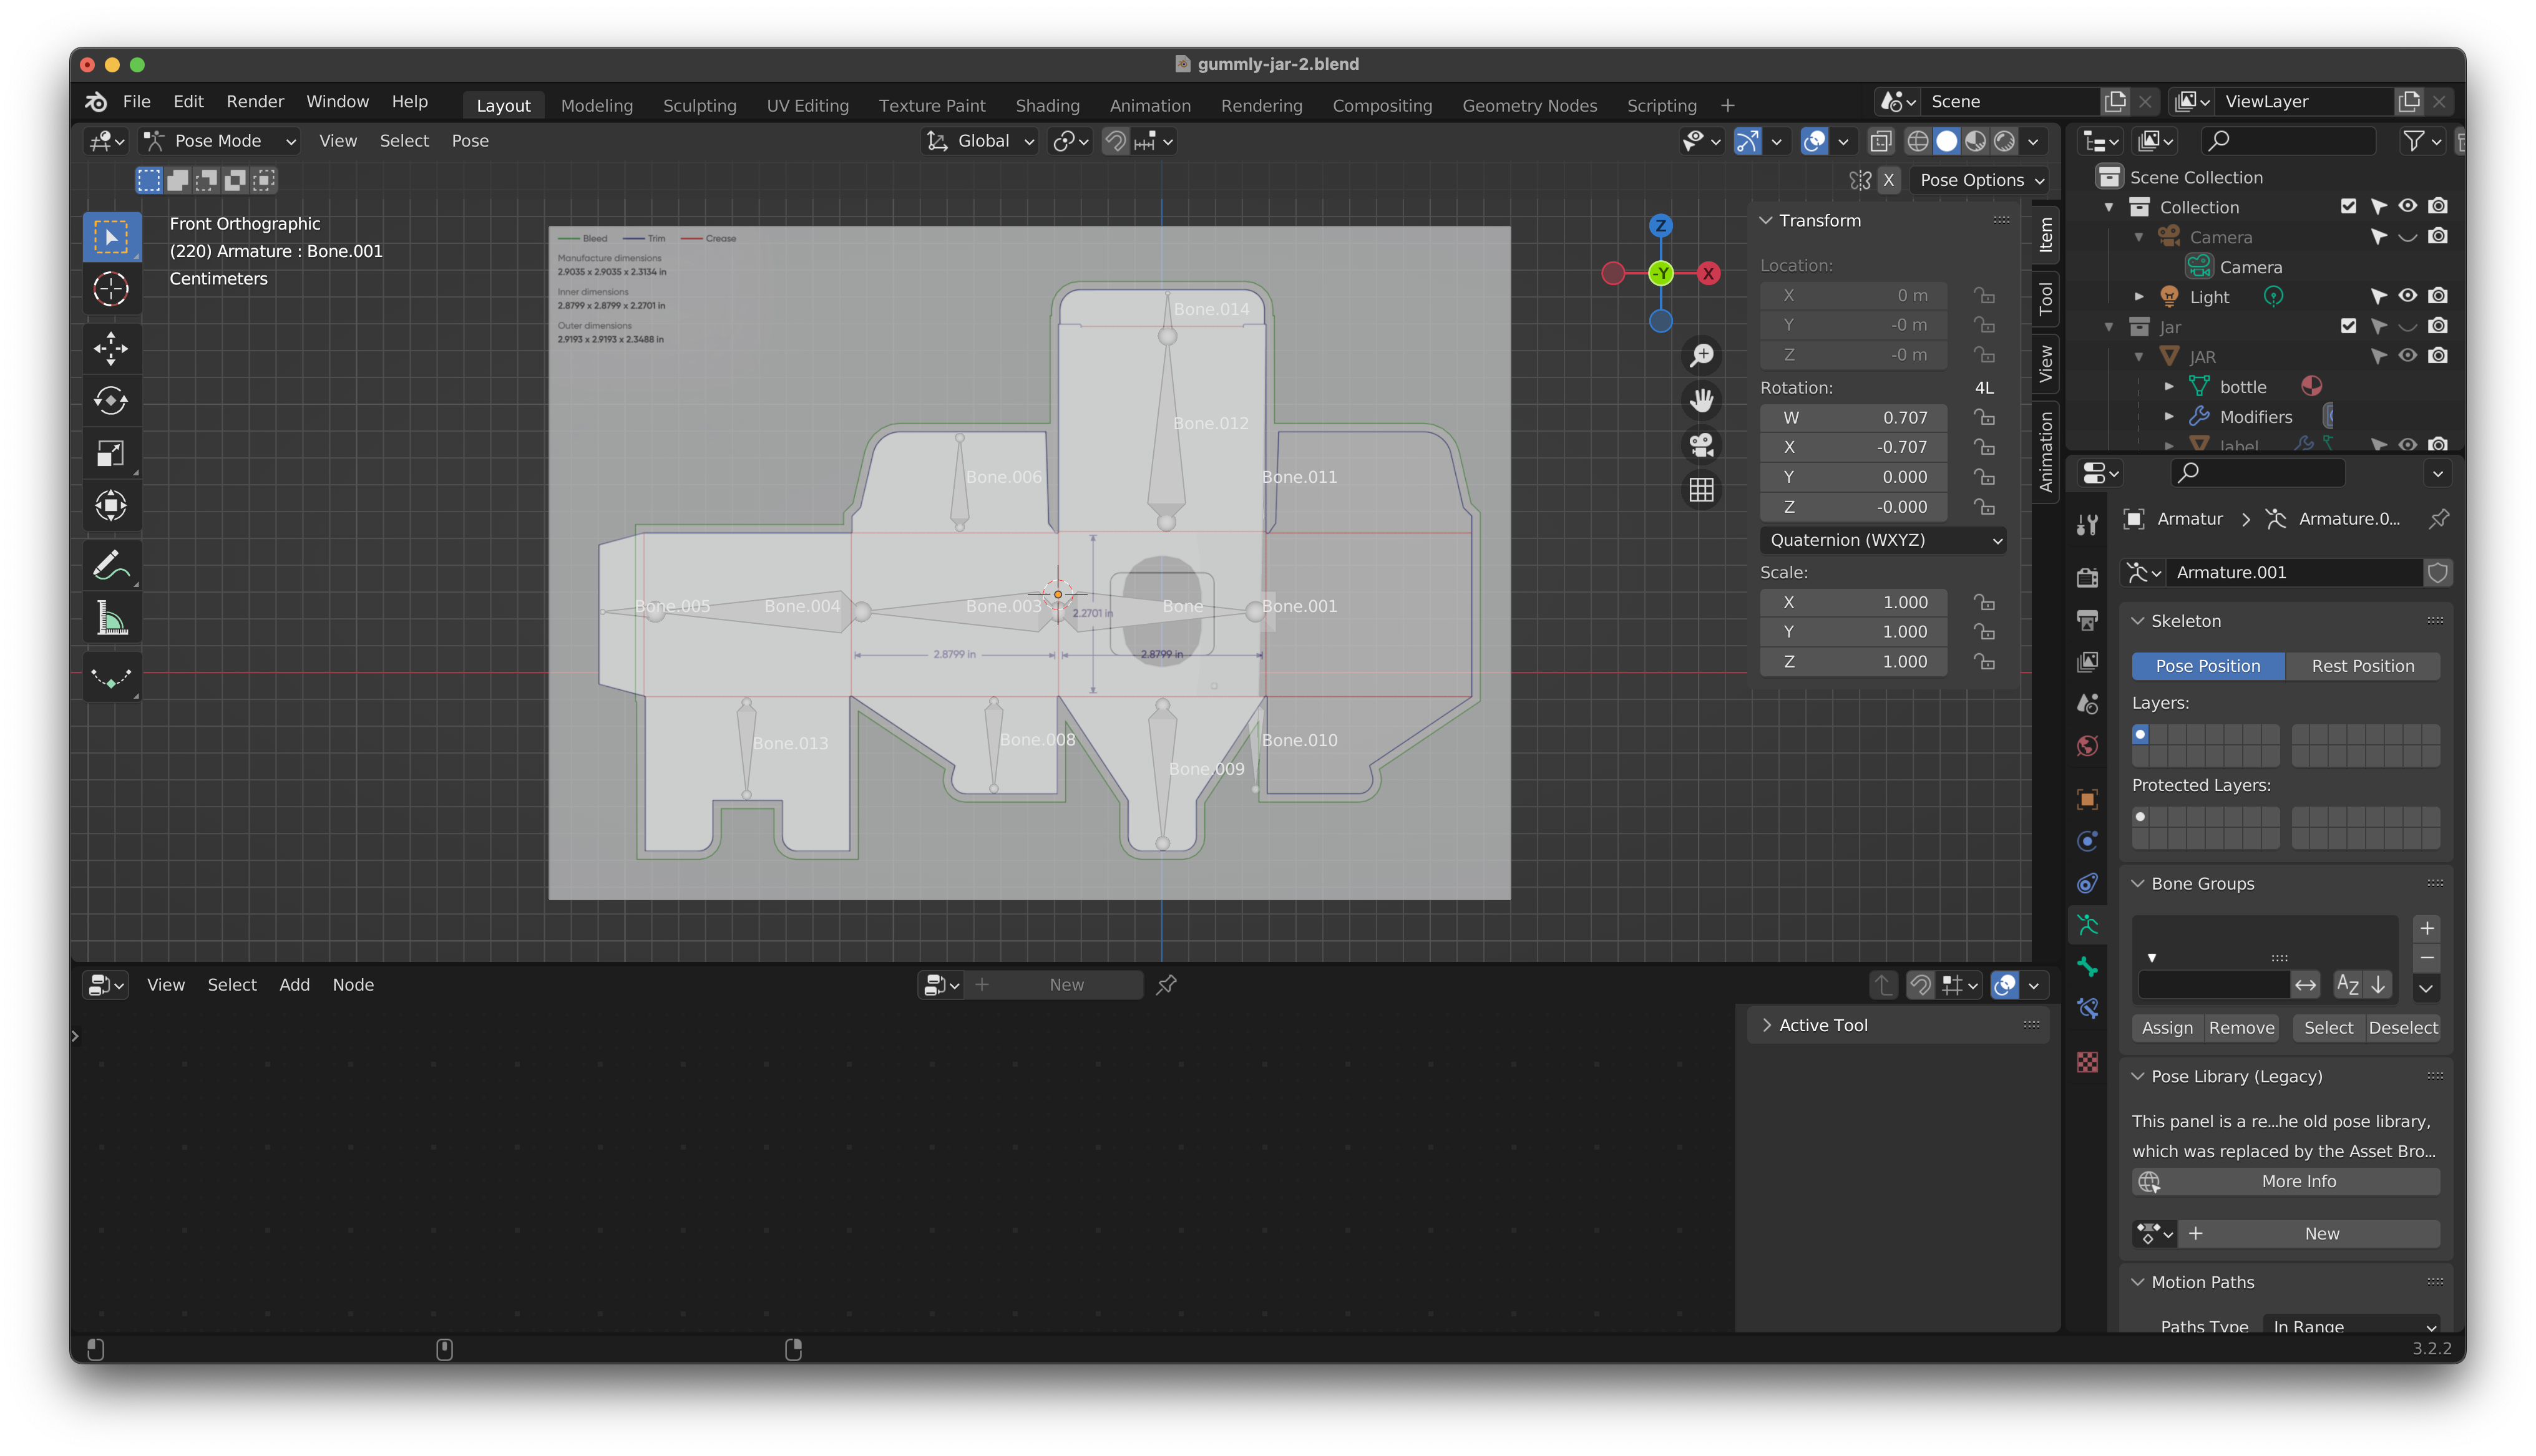
(TLDR: Mirror if applicable, then do everything using loop cuts and the knife tool)
Armatures are confusing but they’re useful for character designs in Blender too. It’s pretty much just giving your planes/models a spine. The official Blender tutorials do a good job of explaining the anatomy that I won’t get into here.
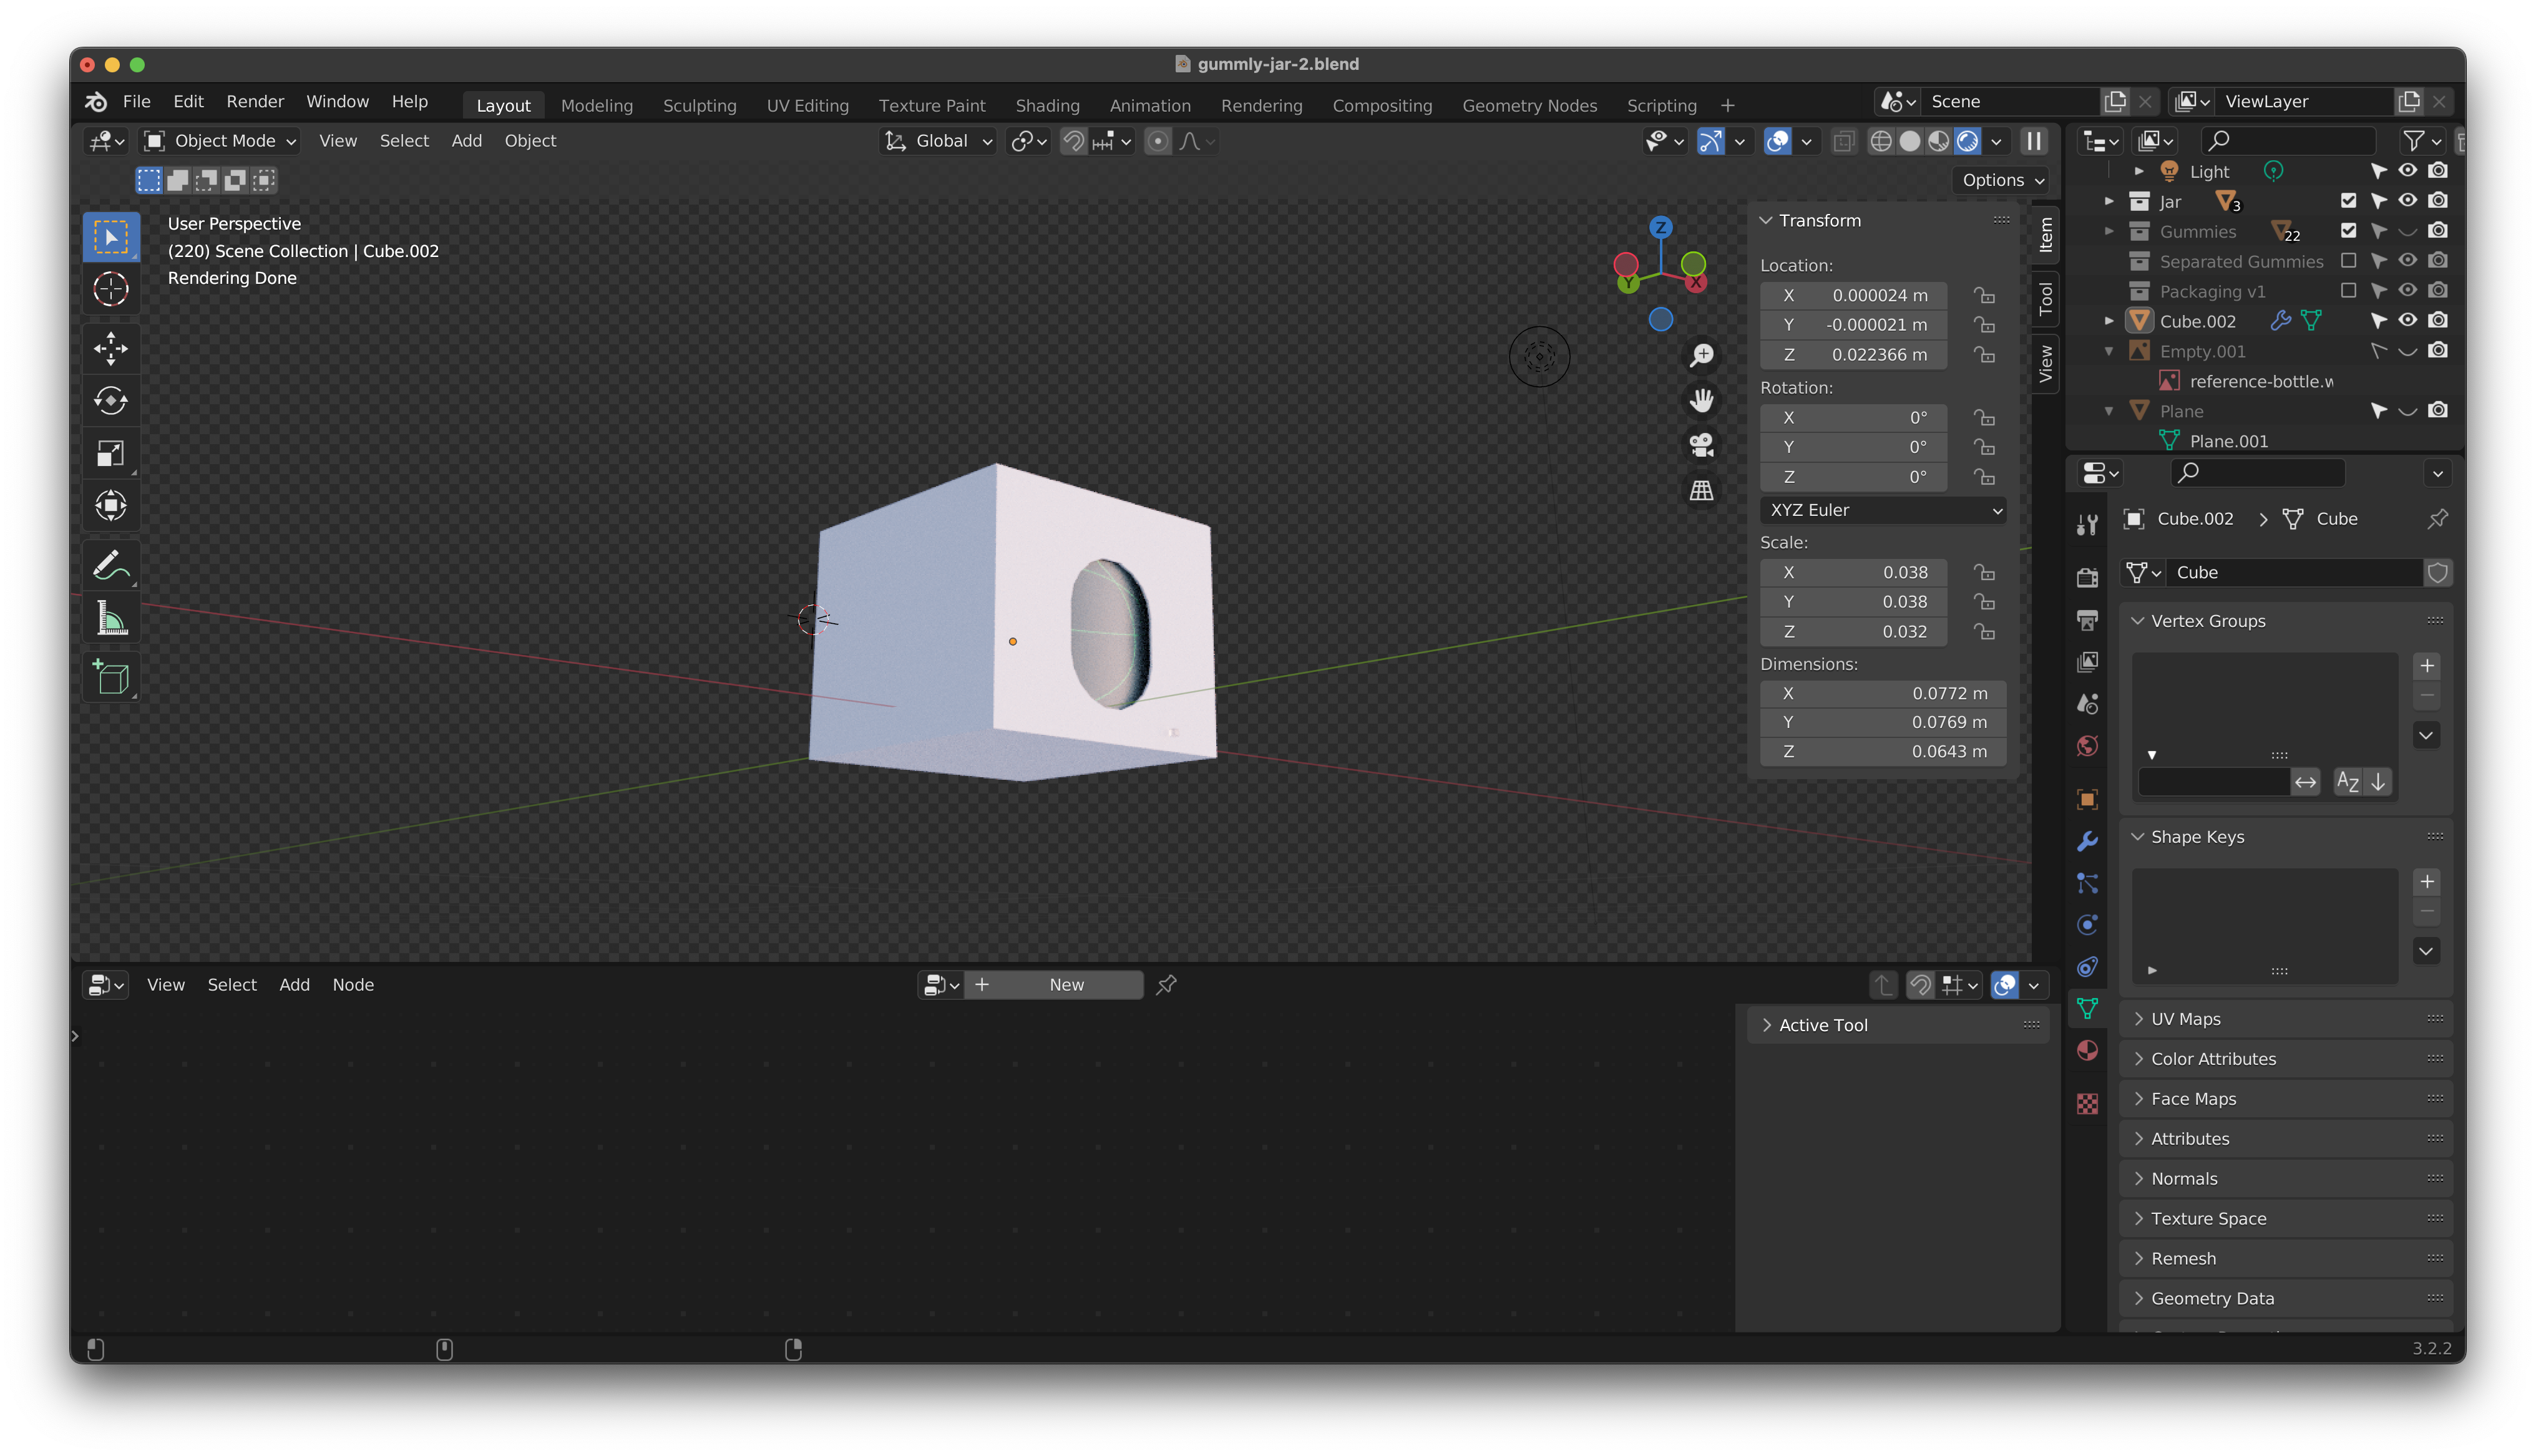 The actual packaging template was giving me a hard time so I opted to remove the top face of a cube to temporarily mock up a hypothetical box :( we are struggling.
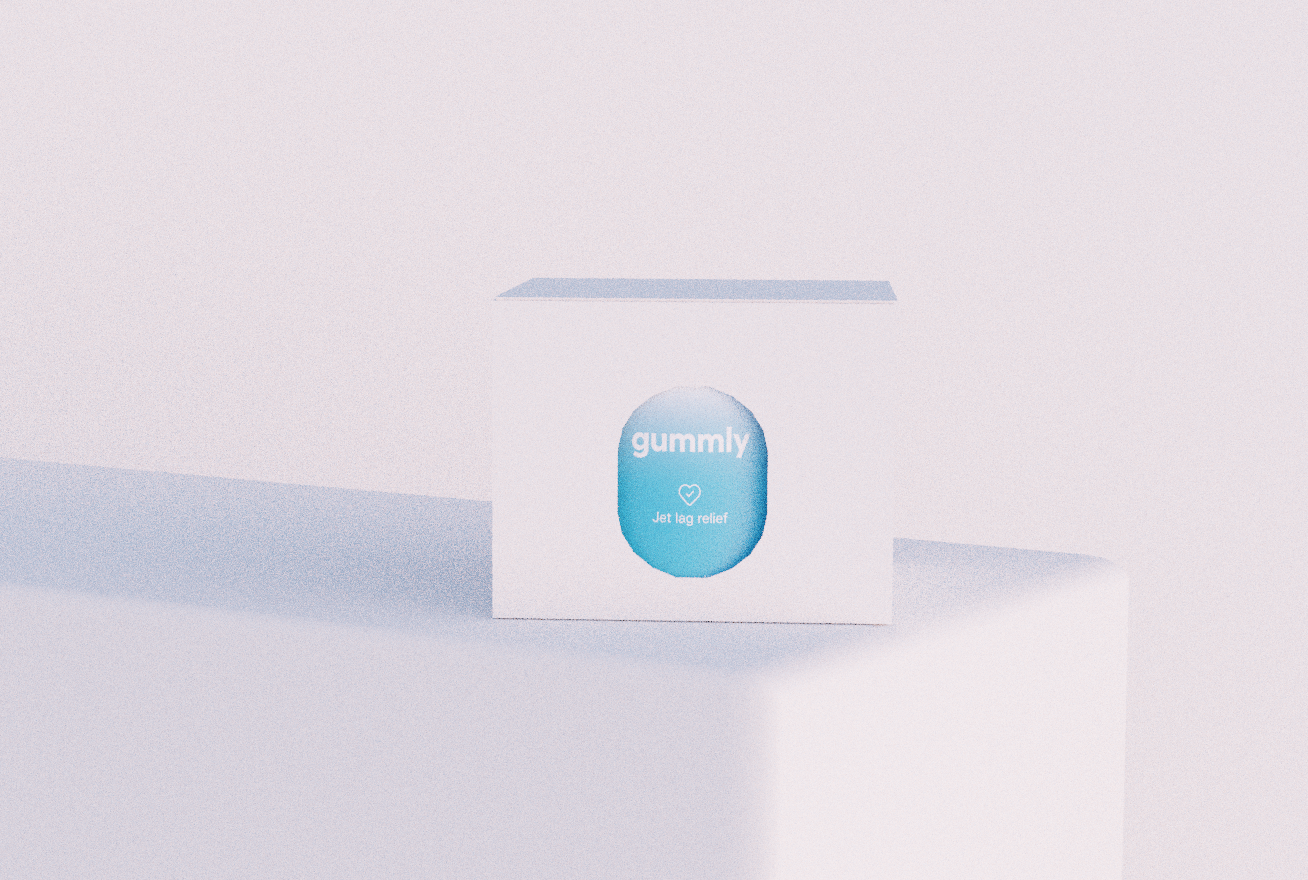
I don’t really have time to dive deep into making boxes at the moment, since this is time-sensitive client work. I wrapped up the first tutorial and created a simple scene: 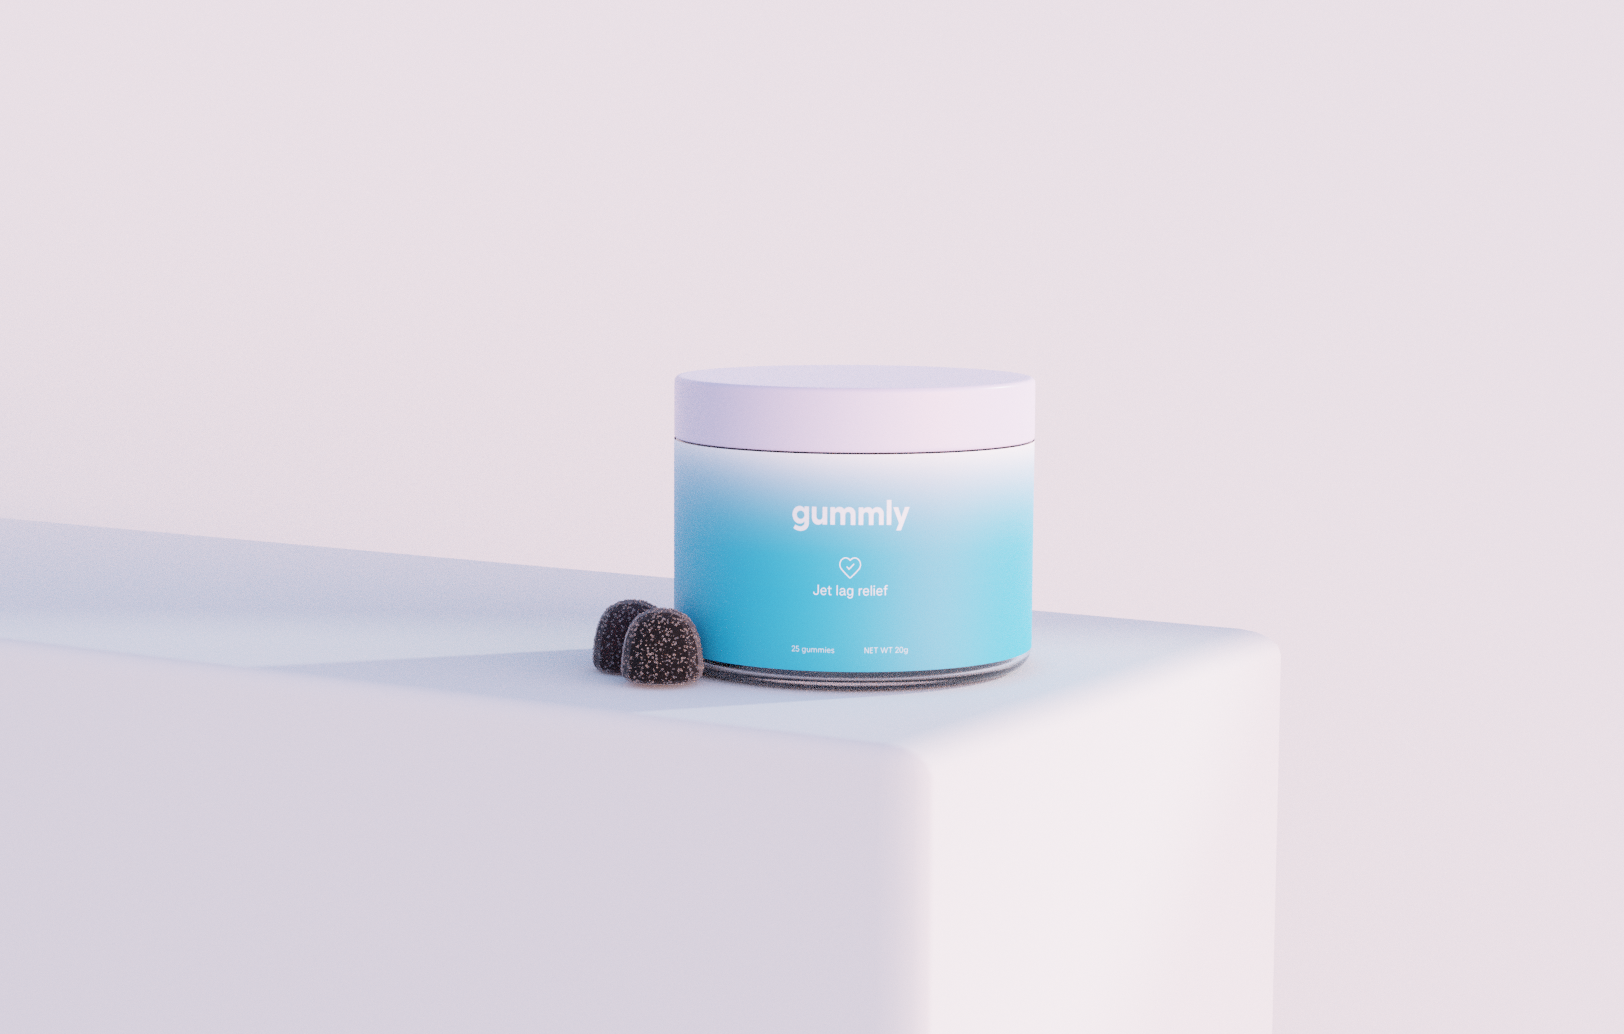
Here’s one with the box:
There’s some obvious things I need to clean up and learn:
- Spend time with armatures so that I can model or even animate the box opening/closing
- Understand how HDRIs affect the scene because these colours seem too high-contrast compared to my flat mockups
- Learn how colour/lighting in Blender generally works
- Create a real scene with like, I dunno, falling gummies in an ethereal backdrop